|
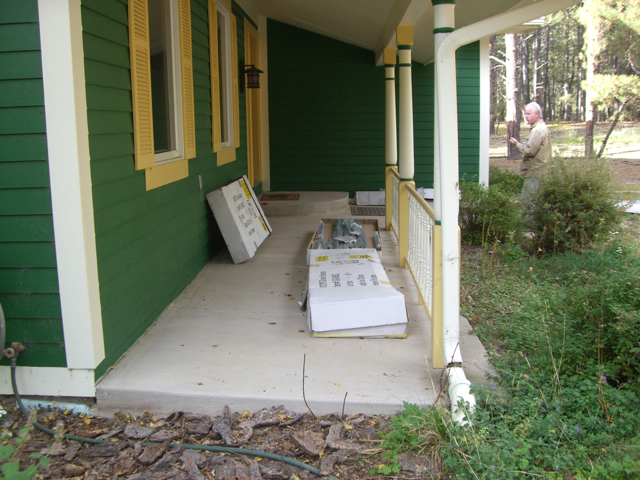
UPS delivered
the greenhouse kit before we had the platform completed so we stored it
on the front porch. The kit came in three boxes each weighing about 90
pounds. Good thing the shipping was free.
|
|
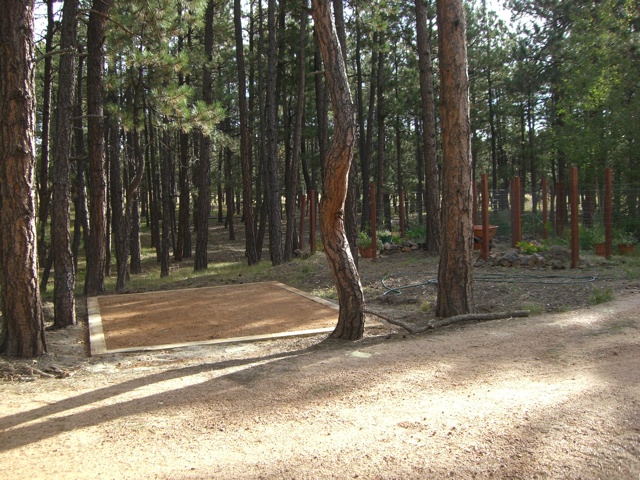
Here is the finished
platform for the greenhouse. It was made with pressure treated ties and
is filled with dirt and road base. It could also function as a parking
spot if we ever move the greenhouse.
|
|
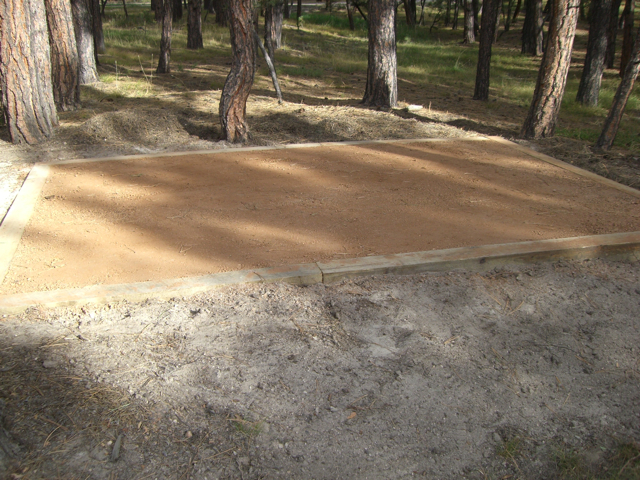
Here is a side view of
the platform. We will plant some plants to keep the soil around the
platform in place.
|
|
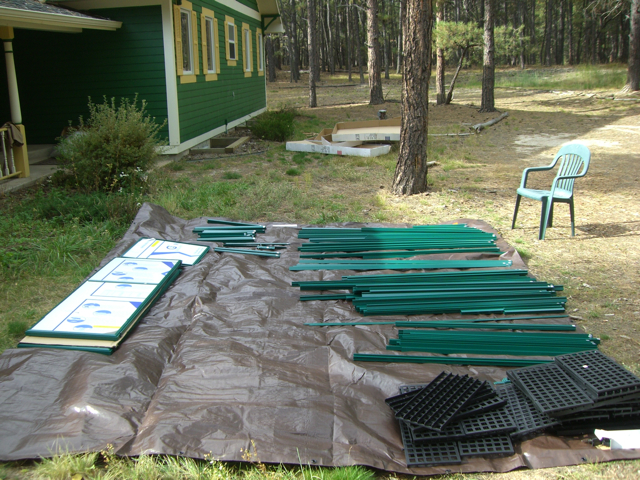
The first step was
unpacking the boxes and laying out the parts to see what we had. The
kit contained boxes within boxes of parts. Here we have most of
the parts laid out. The rest are still on the porch.
|

|
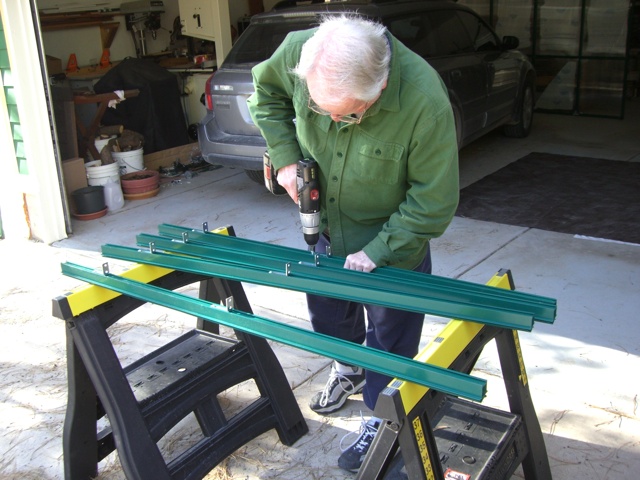
Ah the instruction book.
The first step was an inventory to see if we had all of the
parts. We quickly gave that up and just started building. We would see
what, if anything, was missing when we came upon it. I have to admit
this kit was well engineered and well packaged. Unfortunately almost
every part was wrapped in some kind of plastic for protection during
shipping which made for a lot of waste plastic sheeting and plastic
bags. Good thing we can recycle all of this stuff.
|
|
We assembled a lot of the
greenhouse outside our garage as we had to move things inside when the
weather got bad. We got a foot of snow in the middle of the assembly
process.
|
|
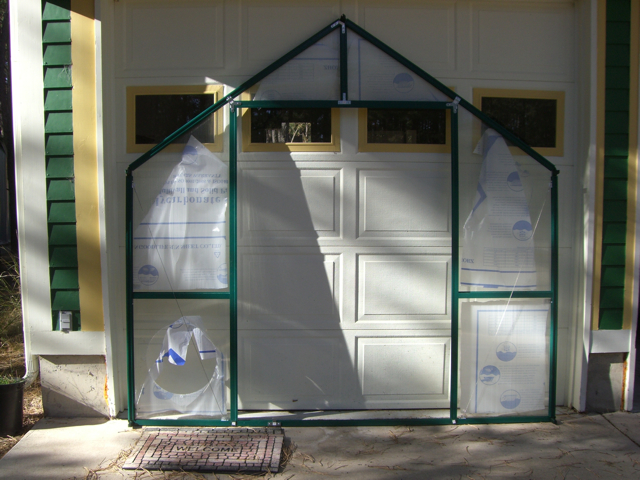
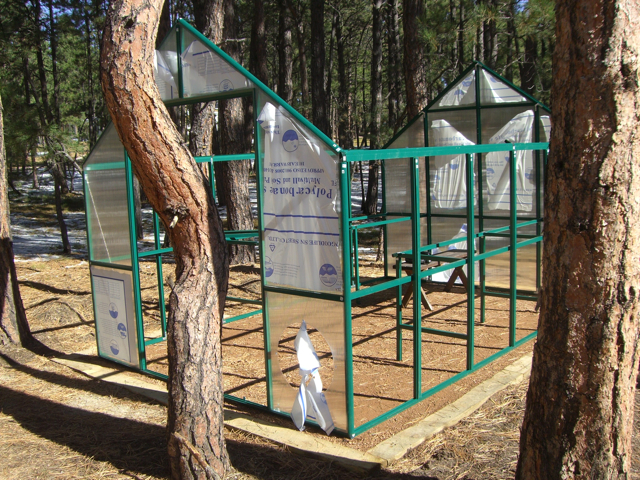
Here is the front of the
greenhouse. The polycarbonate panels have an inside and outside so we
left the plastic sheeting on so we knew we got things assembled
correctly. The round hole in the lower left is for a vent we will
install later.
|
|
Here is one of the side
wall structures. One thing we liked about this greenhouse kit is it had
built in shelving which you can see here.
|
|
Once we had both wall
structures built we carried them and the rear wall from the garage to
the platform. Once there, they snapped together quickly. Our greenhouse
was now self supporting.
|
|
Next we snapped the front
to the sides. Hey this is starting to look like the real thing.
|
|
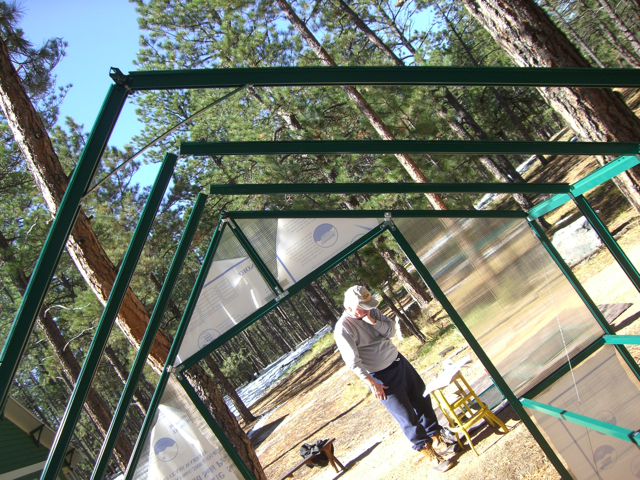
Heather was getting artsy
with this shot.
Here you can see we have the roof trusses in place and that I'm again
reading the instructions trying to determine the next step.
Many times we had to take stuff back apart because I got cocky and
thought I knew how the thing went together. Guess what? I was wrong
quite a few times.
|
|
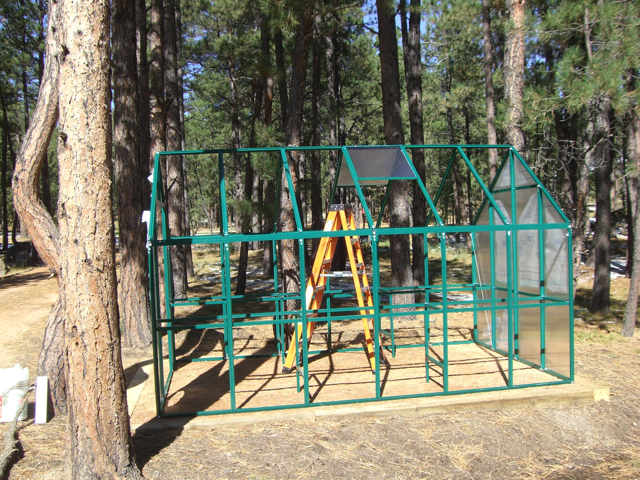
Side view after we got
the two roof vents installed. One of the vents is manual but the other
automatically opens and closes with changing temperature.
|
|
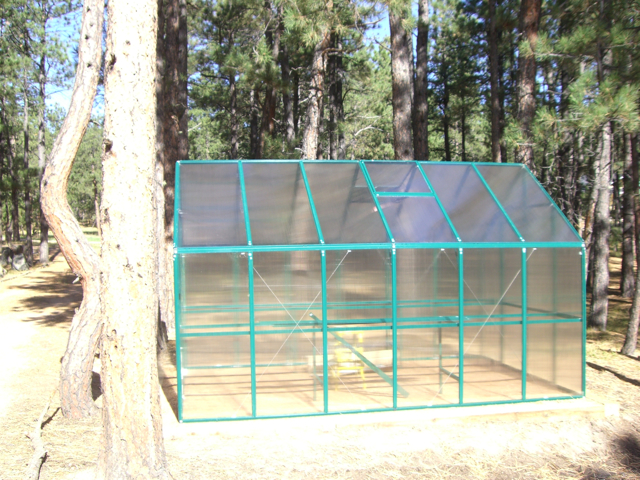
With the frame fully
assembled we installed all of the polycarbonate panels. You can see
cables criss-crossing the side wall. This is how thing were brought
into square by adjusting the tension on the cables. The system worked
pretty well. These cables also help make the greenhouse a little more
sturdy.
|
|
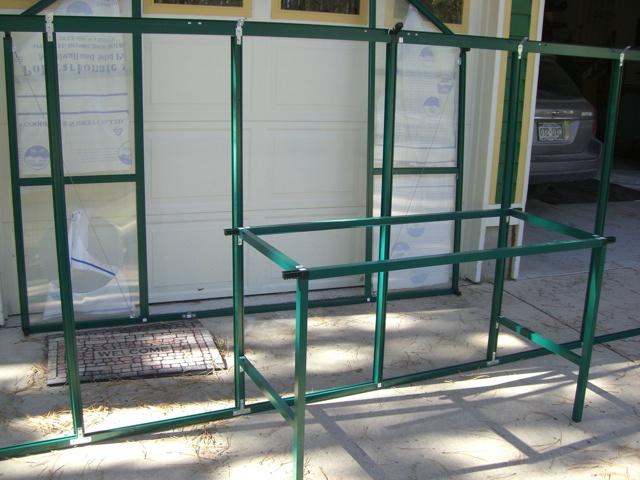
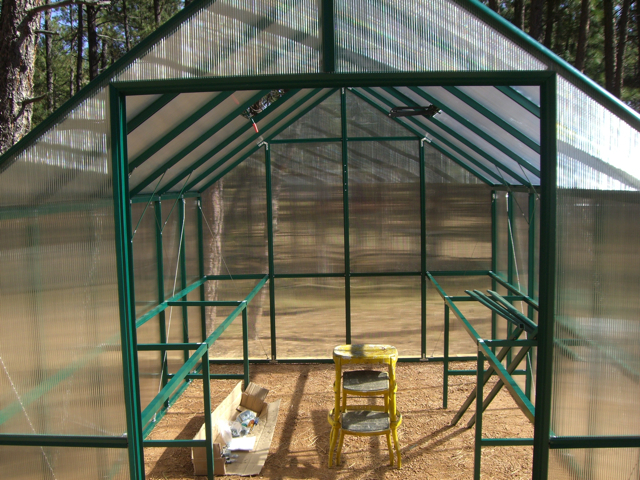
Here is the view into the greenhouse from the front before
the double doors were installed. You can see the bench supports in
place.
|
|
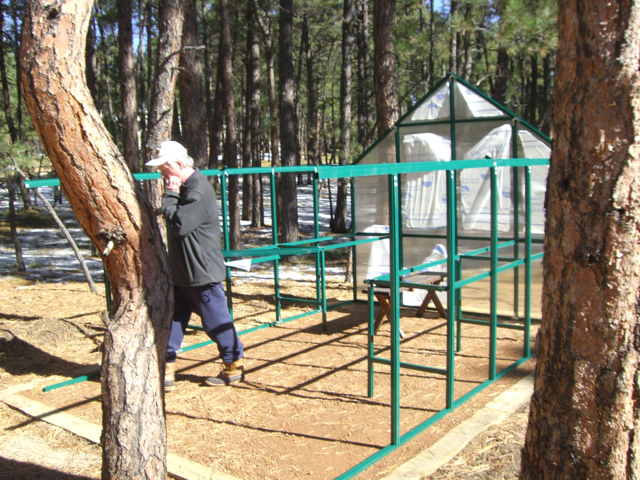
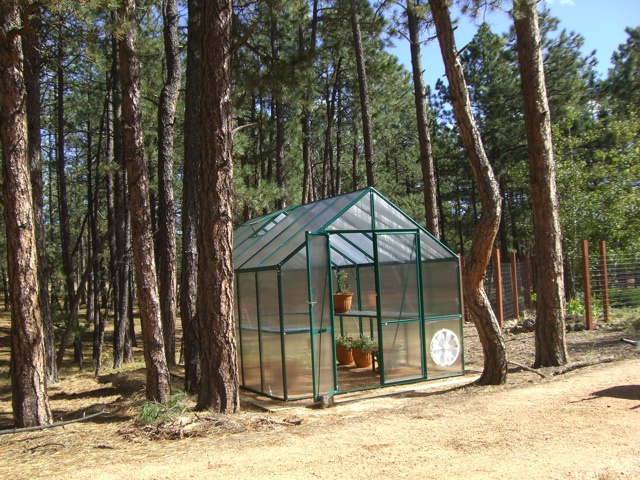
The greenhouse is complete after installing the front vent
and the doors. Heather didn't waste any time putting plants into the
greenhouse. It will be interesting to see what will survive in there in
winter. We will keep you posted.
|
|
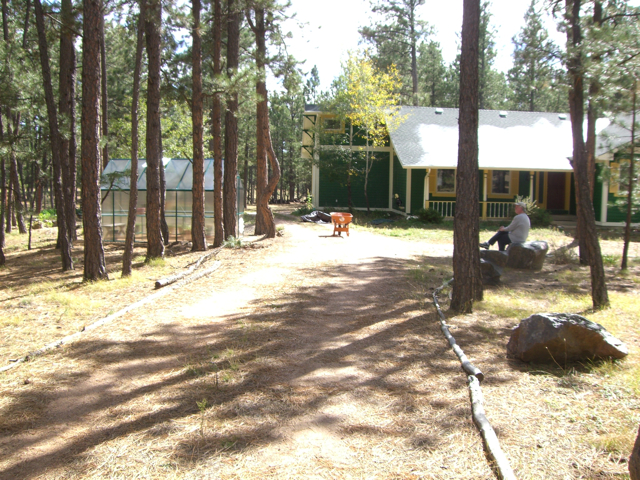
Here is a picture of the greenhouse (on the left of our
driveway) and the front of our house with snow still on the roof. I'm
sitting on a rock admiring our work. All in all this was a fun project
and a great birthday present for Heather!
|