Nov 30, 2014
I built a series of devices I call minions (because I am
their master and they do my bidding) for a project I was working on.
Unfortunately the project was canceled so I wound up with six of these
somewhat strange looking devices. Not wanting to waste the effort that
went into their construction, I have slowly repurposed each of them to
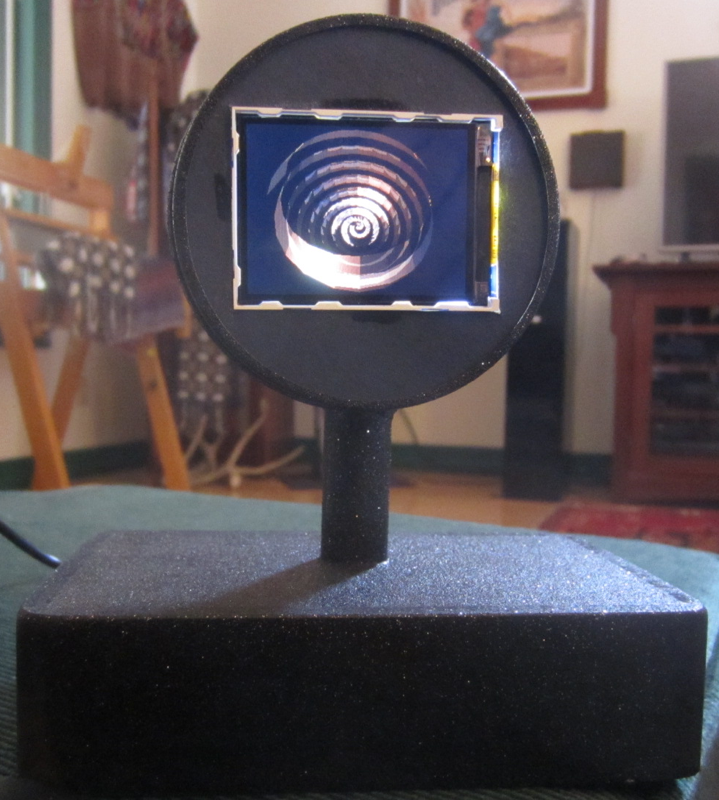
other applications. This minion has been repurposed to be a desktop
raytracing device that designs and renders raytraced images in real
time (albeit slowly). Inside this minion is a Model A Raspberry Pi
(RPi) single board Linux based computer that is running custom software
I wrote (in Objective C) called ArtRays. The RPi drives an Adafruit
320x240 2.2" SPI LCD display and is (optionally) wirelessly connected
via a USB WiFi adapter. The RPi and display are powered externally with
a USB power module capable of 5 volts @ 1 amp. The RPi is
a great little computer but it doesn't have the power to
render large raytraced images. Its does an OK job with 320x240 images
however, especially when over clocked to 1GHz.
ArtRays has two modes of operation: first, it programmatically
generates pov-ray (see povray.org) scene files using probabilities that
can be directed to some extent by the user via a properties file (shown
below) and second, it randomly picks existing scene files (of your
design or downloaded from the Internet) stored on the RPi's SD memory
card. Either
way, ArtRays then execs pov-ray version 3.7 to render the scene files
and then uses SDL (Simple Media Layer) software to display the images
on the LCD display. It starts producing raytraced image on power up and
does this continually until power is removed. I have this minion
setting next to my workspace and enjoy glancing over at it periodically
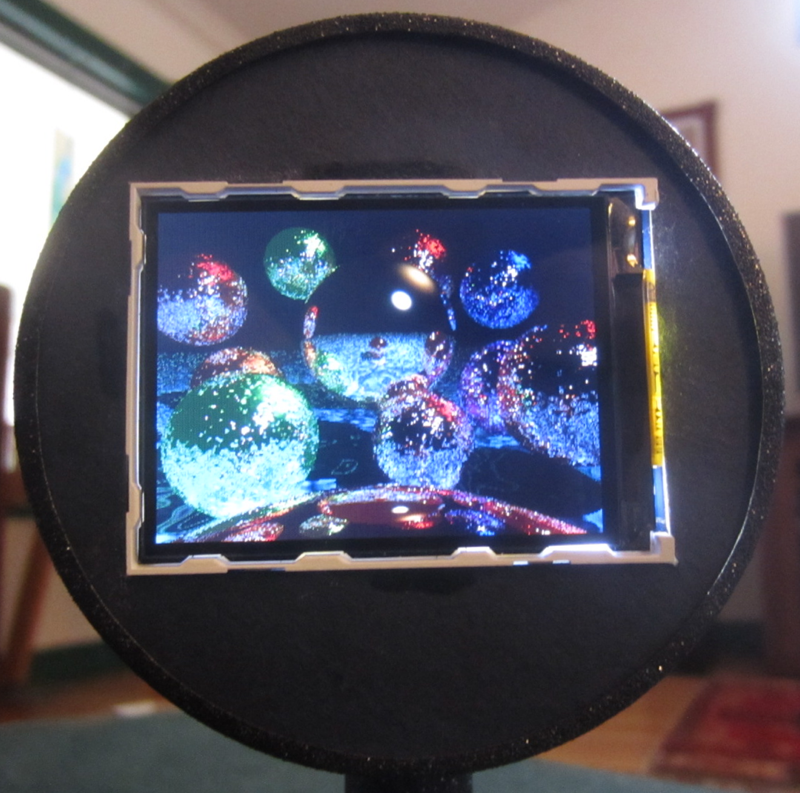
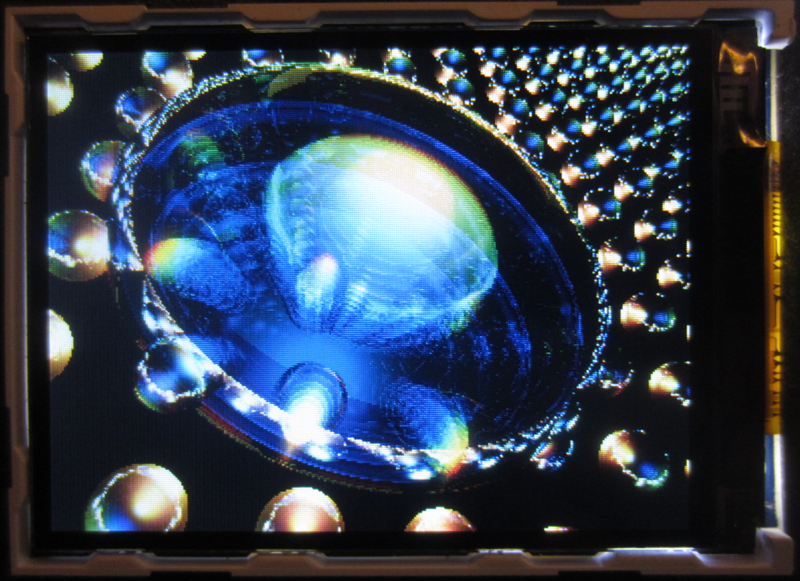
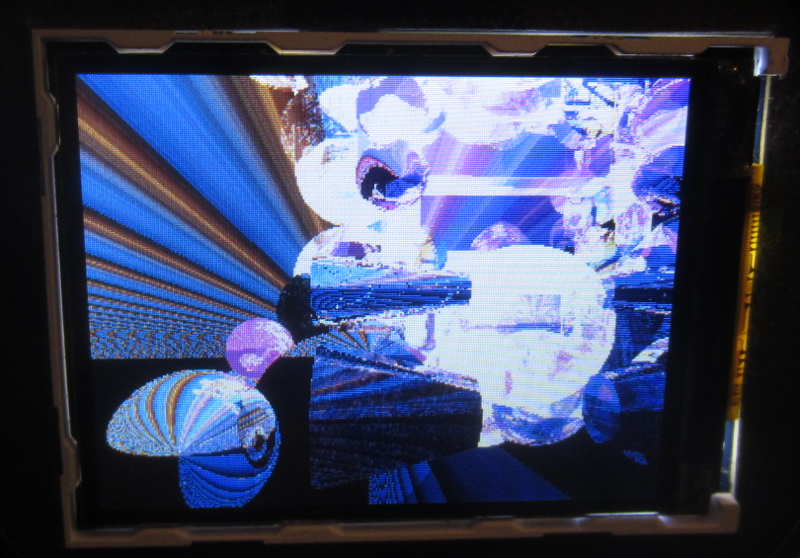
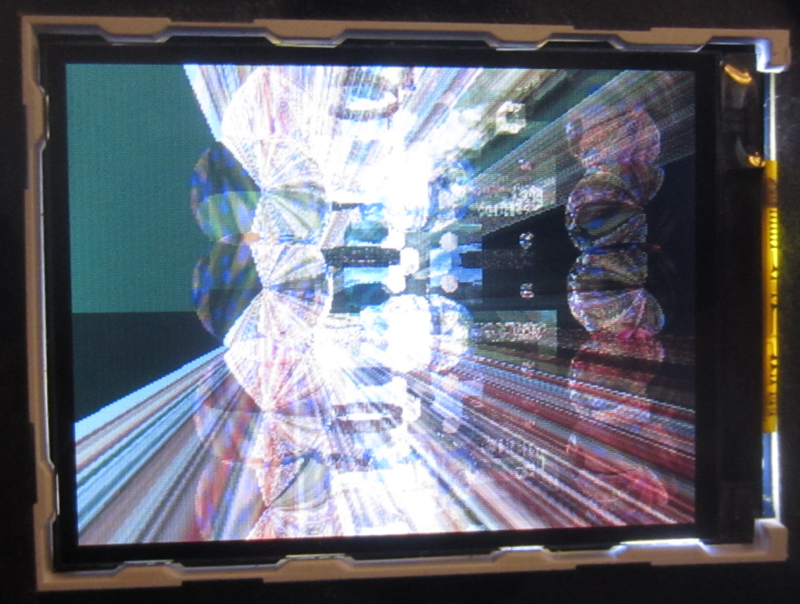
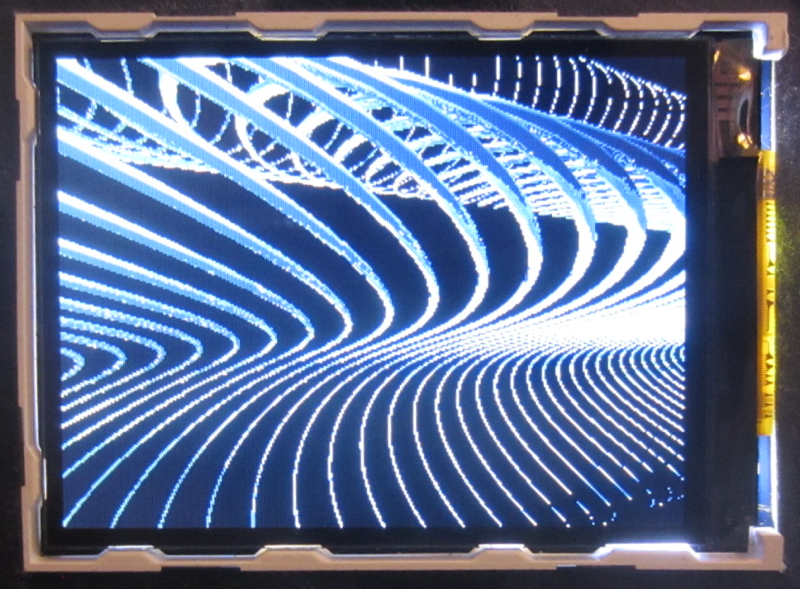
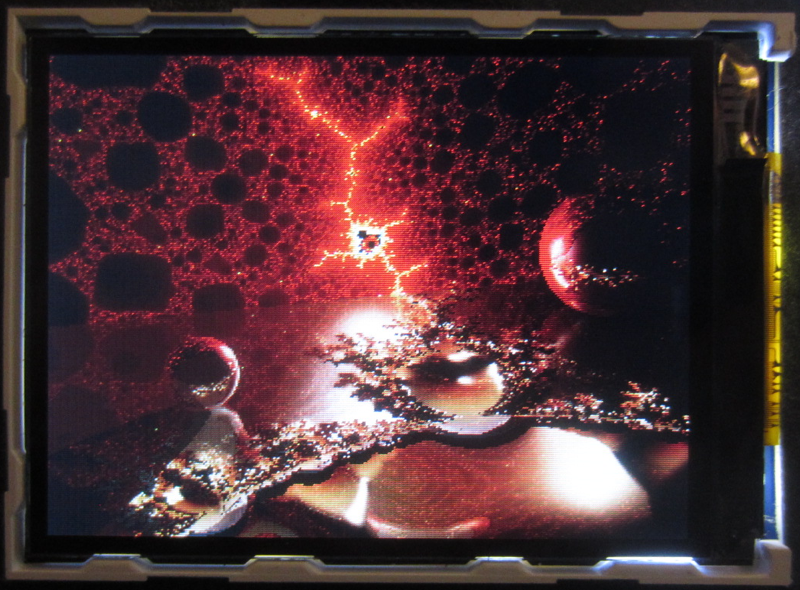
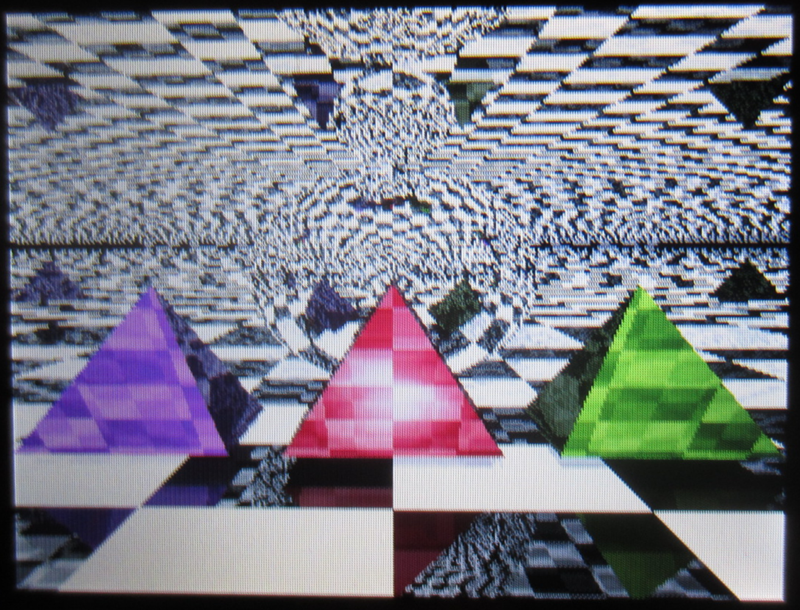
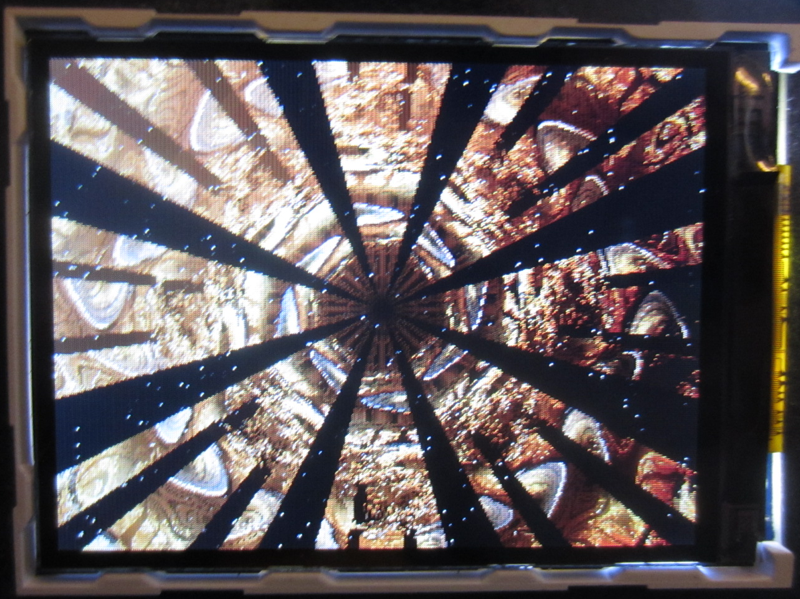
to see what it has produced. Not all of the
programmatically generated images are great or even good but some of
them are truly spectacular. Example images are
shown below.
I have repurposed two other minions to different tasks but that is
another story and another web page.
An artrays.properties file is shown below for reference. See the
ArtRays code to find out what these entries do.
# ArtRays for Raspberry Pi - Property File
Version: 1.0
# Written by: Craig A. Lindley
# Overall operation
USE_SCENE_EVERY = 1
# For Raspberry Pi Minon Hardware
WIDTH = 320
HEIGHT = 240
ASPECT_RATIO = 1.3
ANTIALIASING = false
QUALITY = 9
# Fog Randomization
FOG_PERCENT = 10
# Normal Perturbation Randomization
NORMAL_PERTURBATION_PERCENT = 20
# Crand Randomization
CRAND_PERCENT = 25
# Pigment Randomization
# Pigments are: color, imagemap, brick, checker and hexagon patterns
PIGMENT_PERCENT_COLOR = 25
PIGMENT_PERCENT_IMAGE = 63
PIGMENT_PERCENT_BRICK = 4
PIGMENT_PERCENT_CHECKER = 4
PIGMENT_PERCENT_HEX = 4
# Palette Randomization
PALETTE_PERCENT_GRAYSCALE = 10
PALETTE_PERCENT_SPECTRUM = 20
PALETTE_PERCENT_SIN1 = 10
PALETTE_PERCENT_SIN2 = 10
PALETTE_PERCENT_SIN3 = 10
PALETTE_PERCENT_SIN4 = 10
PALETTE_PERCENT_SIN5 = 10
PALETTE_PERCENT_COLORWHEEL = 20
#
Lighting parameters
MIN_AMBIENT = 0.2
MAX_AMBIENT = 0.8
MIN_DIFFUSE = 0.1
MAX_DIFFUSE = 0.9
# Image content parameters
MAX_LIGHTS = 3
MIN_BOXES = 0
MAX_BOXES = 20
MIN_CONES = 0
MAX_CONES = 12
MIN_CYLS = 0
MAX_CYLS = 10
MIN_SPHERES = 1
MAX_SPHERES = 20
By altering the above values you can influence how
ArtRays designs pov-ray scene files.
The Raytracing
Minion's Firmware
There is a lot of software installation and
configuration necessary to get ArtRays and pov-ray running on a
Raspberry Pi. For this reason I decided to provide a linux img file for the SD card that has
everything available. This includes a special version of the Raspian OS
supporting an LCD frame buffer, all of the software development tools I
needed, version 3.7 of pov-ray, a large collection of pov-ray
scene and texture files and my custom ArtRays software. The img file is
large and is zipped to save transfer time. The img file should be
unzipped and transferred to a 4 or 8 GByte SD card for your Raspberry
Pi.
If you are unsure how to do this please consult the Internet or see this
site. Once you have transferred the img file to your SD card be
sure to expand the filesystem via raspi-config to take advantage of all
of the available storage.
If you use and/or enhance my ArtRays software I would love to hear
about it. Please email me at: calhjh@gmail.com and let me know what you
have done.
A special thanks goes out to the developers who wrote, maintain and
enhance pov-ray, a most excellent ray tracer, for without their efforts
over the years I would have never experienced raytracing and the visual
marvel it provides. Thanks people !
NOTES:
1.
Once you have the raytracing minion running DO NOT update/upgrade the
Raspbian OS. If you do you will loose the kernel driver for the LCD
display.
2. If you want to interact
with the raytracing minion wirelessly, you will need to configure the
RPi with your network's SSID, encryption type and password.
3. The password for the pi user is "raspi". You'll need this to login
to the RPi to setup networking and/or to make changes to ArtRays.