I can provide the SketchUp design file to you if you would like to base your design on mine.


|
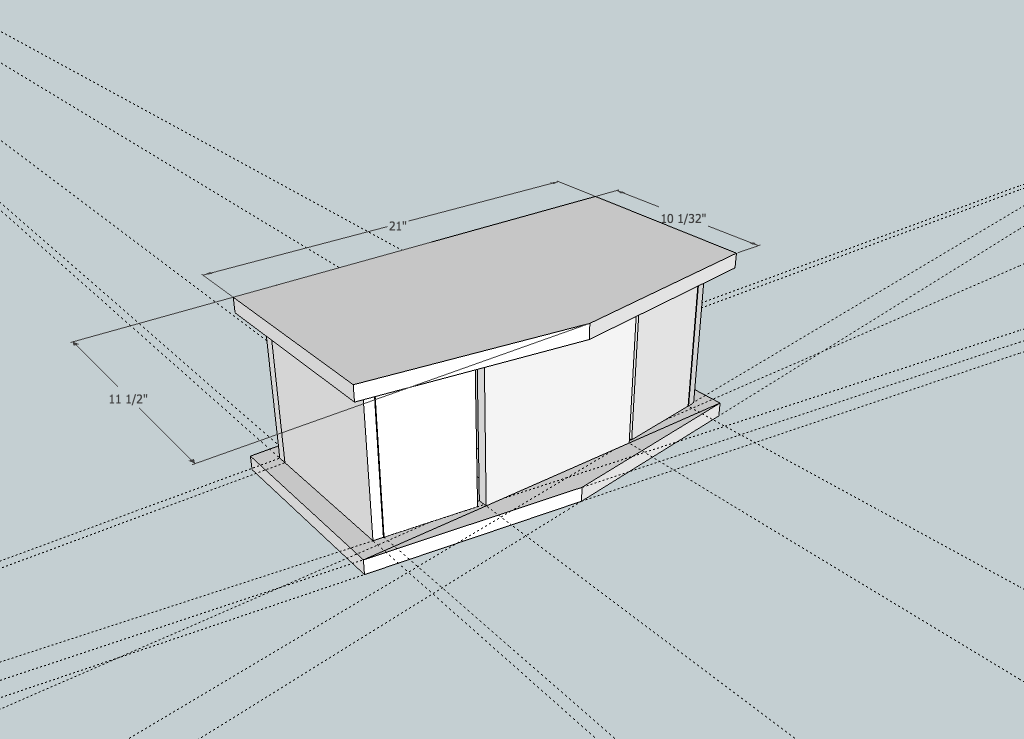
I used Google SketchUp to design the Internet radio's
cabinet. This is a great tool. Once you are finished with the design
you can get accurate dimensions of all of the component parts. I can provide the SketchUp design file to you if you would like to base your design on mine. |
|
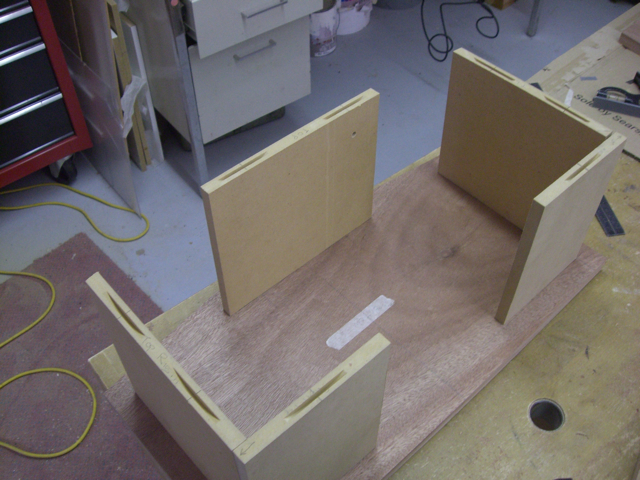
Here I've cut the bottom hardwood piece and the 1/2"
MDF supports. The pieces of the cabinet will be held together with glue
and biscuits. |
|
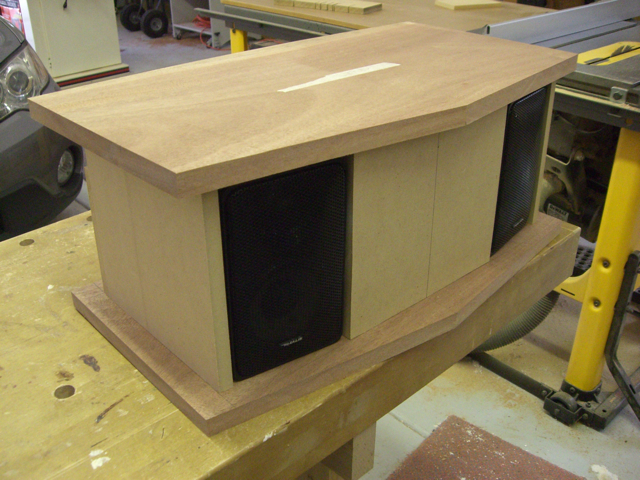
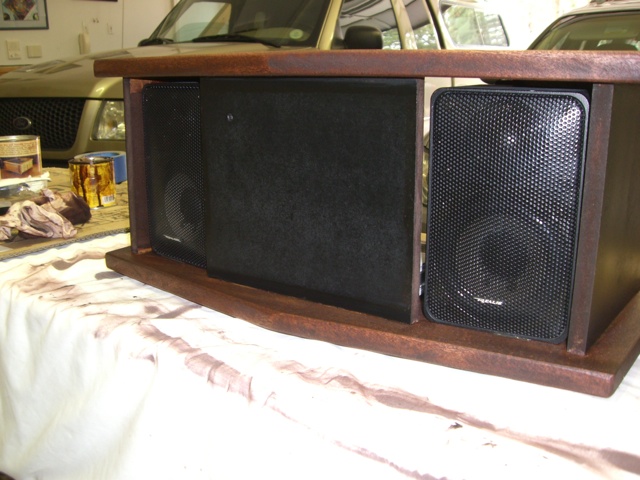
Here I'm verifying that the Realistic Minimus 7 speakers fit
into the cabinet. They will be epoxied into place later in the
construction process. |
|
Here the top has been set in place so I could see what the
finished cabinet would look like. The speaker are splayed out at an
eight degree angle; the same angle as on the front of the top and
bottom pieces. |
|
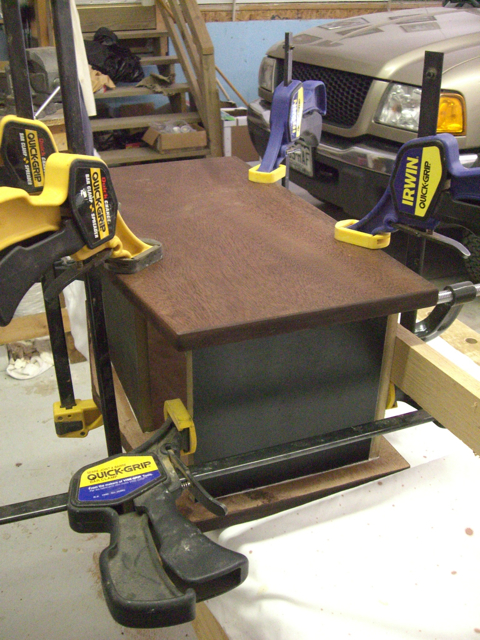
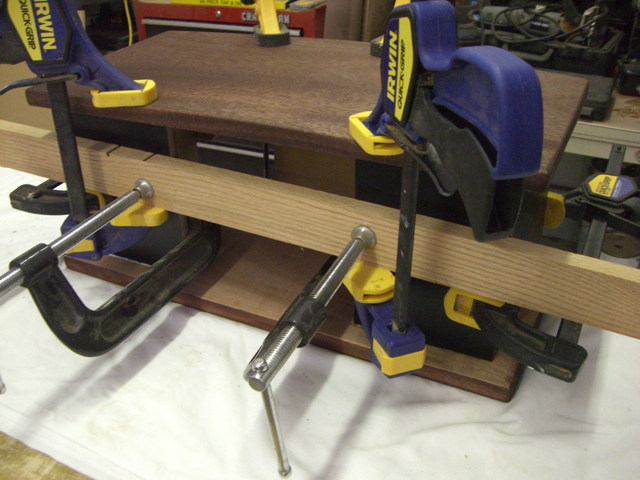
I stained the top and bottom and painted the support pieces
black before gluing up the cabinet. At this point all of the biscuits
have been glued in place and the clamps are being used to hold the
cabinet together until the glue dries. The board clamped across the
back was necessary to make sure both sections of the back were coplanar. |
|
Another view of the gluing up stage. |
|
Here is the front view of the cabinet after the glue has
dried. |
|
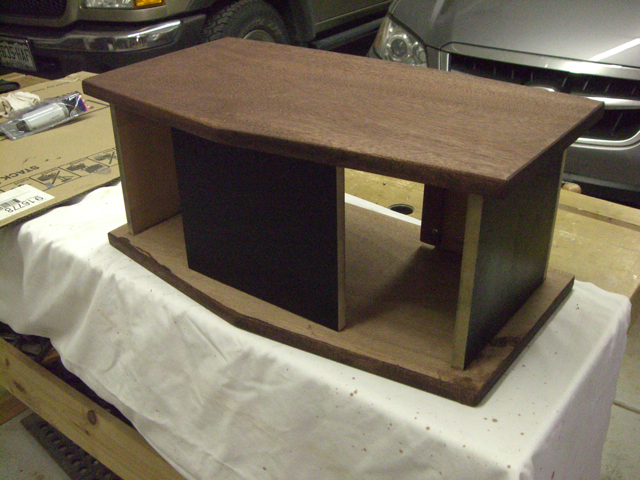
Rear view of the glued up cabinet. Here you can also see how
pretty the walnut wood is. |
|
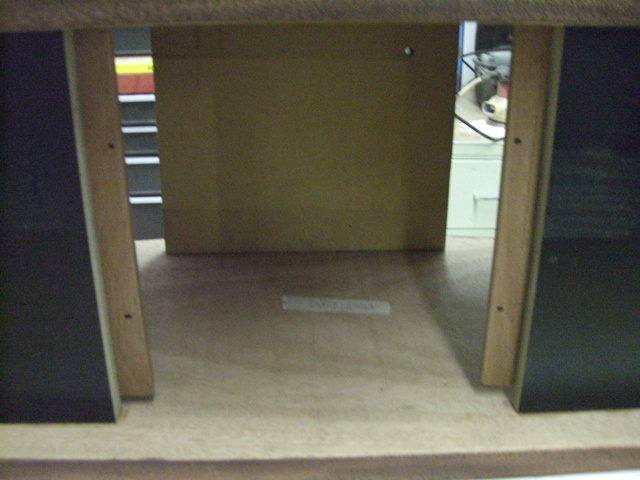
A closeup looking into the rear of the cabinet. Here you can
see the wooden strips on both sides of the rear panel cutout. These
will be used to clamp the grill cloth in place and to screw on the
removable rear panel. The small hole in the front support (upper right)
will house the blue LED power indicator. |
|
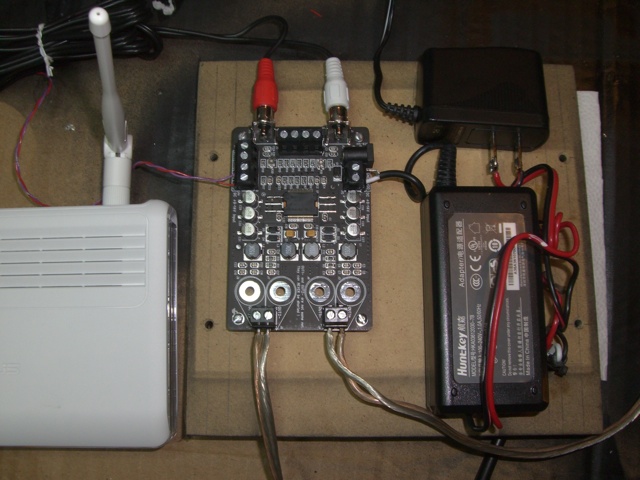
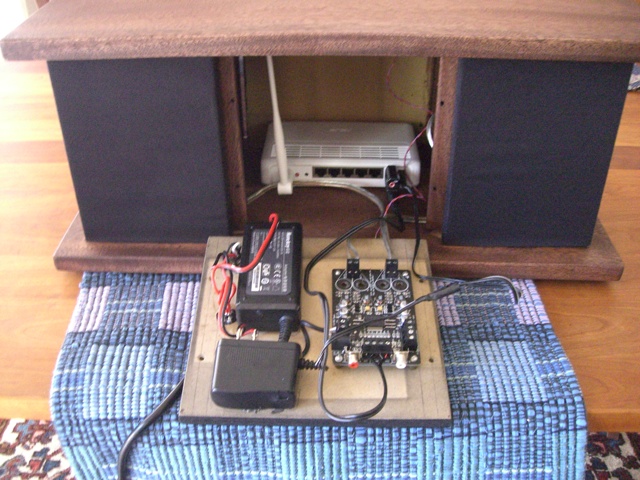
Here is the rear panel of the cabinet with the electronics
mounted in place. The two power supplies were epoxied on while the
amplifier module was mounted with standoffs and wood screws. The ASUS
router is shown on the left. This was a test to be sure everything
still worked and thankfully it did. |
|
Here, I've finished staining the cabinet and have epoxied
the speakers in place. |
|
In this photo you can see that the grill cloth has been
stretched around the cabinet and clamped into position by the wooden
rear panel mounting strips. Also, the electronics are all connected and
a final test is being made before putting the rear panel in place and
closing up the cabinet. |
|
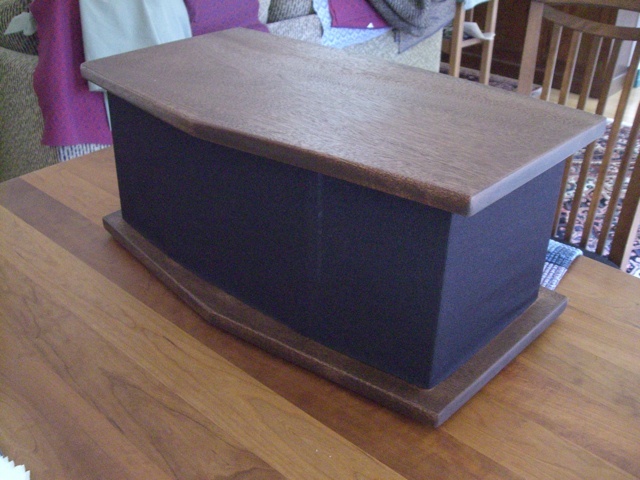
Front view of the finished Wifi Internet Radio. What you
cannot see in this picture is the blue power indicator which is located
in the upper left of the center support. |
|
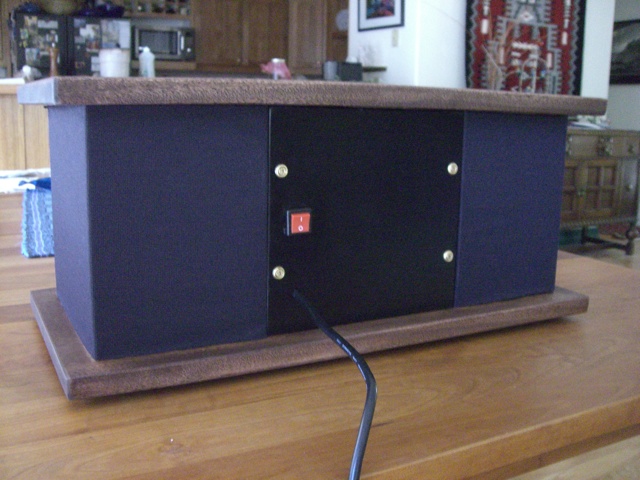
Rear view of the finished Wifi Internet Radio. The only
control on the radio is the red power switch seen here. |
|
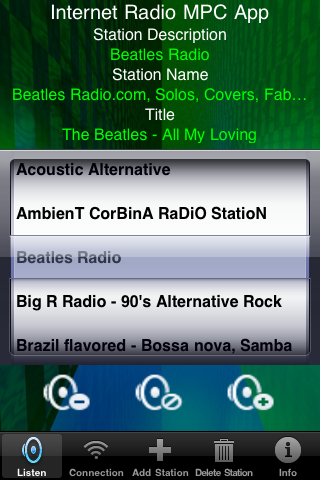
This is the iPhone/iPod Touch/iPad app I wrote
for controlling the Internet radio. This app is available
in the Apple App Store. More information about this app is available here. |